
Let me tell you what happened last weekend. My grandkids were over, and it was pouring rain outside. They kept asking for s’mores, but our fire pit was basically a swimming pool at that point.
I was digging around in my pantry trying to figure out something else to make them happy when I spotted a can of crescent rolls. That’s when it hit me. What if I could turn their favorite campfire treat into something we could make right here in the kitchen?
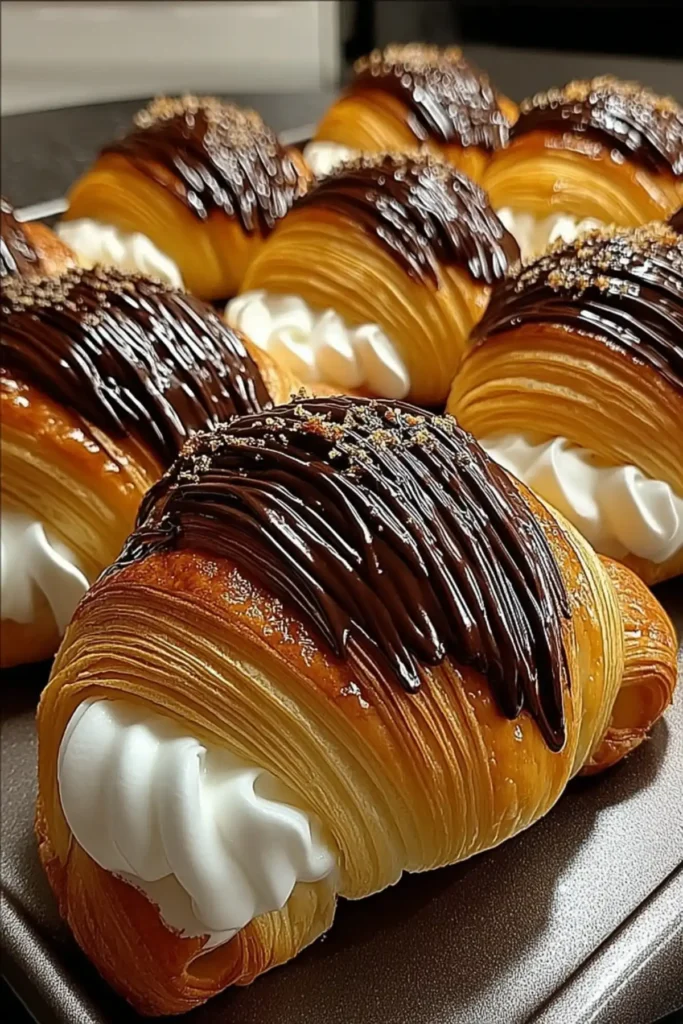
These S’mores Crescent Rolls turned out so good that now the kids ask for them instead of the real thing. They’re like little pockets of gooey marshmallow and melted chocolate wrapped up in buttery, flaky pastry. My husband even asked me to make them for his office potluck last month.
What Are S’mores Crescent Rolls?
Think of your favorite campfire s’more, but wrapped in buttery crescent dough and baked until golden. No more trying to balance graham crackers or chasing melted marshmallows that slide off into the fire.
Everything stays perfectly contained in the flaky pastry. The chocolate melts evenly throughout, the marshmallows get perfectly gooey, and you get that classic graham cracker flavor mixed right into the filling.
It’s like someone took all the best parts of s’mores and fixed every single annoying thing about making them outdoors. Plus, you can actually make them year-round without worrying about weather or having a fire pit.
Why You’ll Love This Recipe
These solve every problem you’ve ever had with regular s’mores. No sticky fingers, no dropped marshmallows, and you can make eight at once instead of standing around a campfire trying to get everyone’s marshmallow just right.
They use ingredients you probably already have on hand, and honestly, they’re so much easier than the original. Your house smells absolutely amazing while they’re baking too.
I love that they look a little fancy when you serve them, but they’re actually super simple to make. Perfect for when you want something special without a lot of fuss.
Recipe Tips for Success
Use mini marshmallows instead of regular ones. I learned this the hard way. The big marshmallows will burst right out of the dough and make a mess in your oven. Mini ones melt perfectly and stay contained where they belong.
Don’t overfill them. I know it’s tempting to stuff them full, but one to two tablespoons of filling is really plenty. More than that and they’ll leak everywhere during baking.
Really pinch those seams tight. This is the most important step. You want to seal the edges and ends well so all that melted goodness stays inside where it belongs.
Let your butter cool slightly before brushing it on. If it’s too hot, it’ll just run right off the dough instead of staying put.
What You’ll Need
For the Filling: 1 cup milk chocolate chips or chopped chocolate bars 1 cup mini marshmallows ¼ cup graham cracker crumbs
For Assembly: 1 (8 oz) can refrigerated crescent roll dough 2 tablespoons unsalted butter, melted 1 tablespoon granulated sugar (optional)
Any chocolate works fine here. I’ve used Hershey’s bars chopped up, chocolate chips, even leftover Halloween candy. Milk chocolate is my favorite because it’s sweeter and melts really well.
For the graham cracker crumbs, just put a few crackers in a plastic bag and crush them with a rolling pin. You want some texture, so don’t worry about making them super fine.
How to Make S’mores Crescent Rolls
1. Get everything ready
Preheat your oven to 375°F and line a baking sheet with parchment paper. Trust me, the parchment paper makes cleanup so much easier.
Mix the chocolate chips, mini marshmallows, and graham cracker crumbs in a bowl. It might look like it won’t hold together, but once it hits the oven heat, everything melts and binds perfectly.
2. Prep the crescents
Unroll the crescent dough and separate into 8 triangles along the perforated lines. Be gentle so you don’t tear the dough.
Put 1 to 2 tablespoons of filling on the wide end of each triangle. Keep it centered and leave some space around the edges for sealing.
3. Roll them up
Starting from the wide end, roll toward the point. Don’t roll too tight because the filling needs room to expand as it heats up.
Pinch the seams and ends really well to seal everything in. This step is crucial for keeping all that melted goodness contained.
4. Final prep
Place them seam-side down on your prepared baking sheet. Space them out so they have room to puff up without touching each other.
Brush the tops with melted butter and sprinkle with sugar if you’re using it. The sugar helps them get that beautiful golden color.
5. Bake and cool
Bake for 11 to 13 minutes until they’re puffed up and golden brown. They should look gorgeous and smell even better.
Let them cool for at least 5 minutes before serving. I cannot stress this enough. The filling is like molten lava when they first come out of the oven.
Common Mistakes to Avoid
Don’t use regular marshmallows. I tried it once thinking it would work the same way. It doesn’t. They’re too big and will burst out of the dough every time.
Don’t skip the sealing step. Those seams need to be pinched tight, or you’ll end up with a messy baking sheet and empty crescents.
Don’t overbake them. Watch for that golden brown color. If they start getting too dark, cover them with foil for the last few minutes.
Don’t bite into them right away. I know they smell incredible, but give them time to cool so you don’t burn your mouth on the hot filling.
Variations to Try
Once you’ve mastered the basic version, there are so many ways to switch things up.
Try different chocolates like dark chocolate chips, white chocolate, or even peanut butter chips. Each one gives a completely different flavor.
Use crushed cookies instead of graham crackers. Vanilla wafers work great, or try crushed chocolate chip cookies for extra chocolate flavor.
Add some chopped nuts like pecans or almonds for crunch. Just don’t add too much or it’ll be hard to seal the crescents properly.
You can make mini versions by cutting each triangle in half. Perfect for parties or when you want smaller portions that are easier to manage.
Serving Suggestions
These are incredibly versatile. They’re great for breakfast with coffee, perfect as an afternoon snack, or elegant enough for dessert.
They’re fantastic for potlucks because they travel well and always get rave reviews. I’ve never brought them anywhere without someone asking for the recipe.
Serve them warm for the best gooey texture. They’re also delicious with a cold glass of milk or even a scoop of vanilla ice cream if you want to get fancy.
Storage and Freezing
These are definitely best eaten the day you make them, but they’ll keep covered at room temperature for up to two days.
You can warm them in a 300°F oven for a few minutes to get them soft and gooey again. Just don’t overdo it or they’ll dry out.
I’ve never tried freezing them because they disappear so fast around here, but I imagine they’d freeze fine if you want to make a double batch and save some for later.
Frequently Asked Questions
Can I make these ahead of time?
You can assemble them and keep them in the refrigerator for a few hours before baking. Just add a minute or two to the baking time since they’ll be starting from cold.
Why did mine leak during baking?
Either you used too much filling or the seams weren’t sealed tight enough. Really pinch those edges well and don’t overstuff them.
Can I use a different type of dough?
Crescent roll dough works best because it’s already the right thickness and has that buttery flavor. Puff pastry might work but would taste different.
How do I know when they’re perfectly done?
They should be puffed up and golden brown all over. If they’re browning too fast on top but don’t seem done through, cover them with foil for the last few minutes.
Can I double this recipe?
Absolutely! Just use two cans of crescent rolls and double all the filling ingredients. You might need two baking sheets, and watch the timing carefully.


